Whether you’re looking to add some bells and whistles to your faucet (like a pulldown faucet sprayer or touch technology), or want to upgrade your bathroom with some new fixtures, a new faucet can instantly modernize and upgrade your home’s overall aesthetic.
Thankfully, a faucet upgrade is a minor home improvement project you can easily do on your own. In this post, we’ll show you the step-by-step process to upgrade your faucet in a weekend afternoon – no fancy tools or permits required!
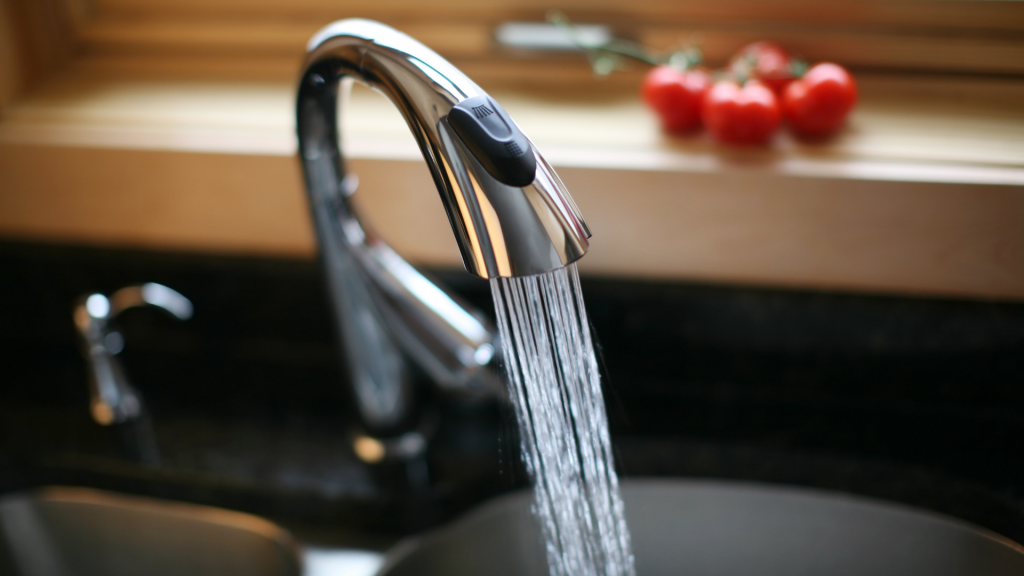
How Often Should I Replace My Faucets?

Swapping out your kitchen or bathroom faucet isn’t just a nice aesthetic upgrade – it can also save you money on your water bill, while helping to filter out sediment and minerals from your water supply. The older your faucet, and its filters, the more likely you’ll experience debris build up, leaks, or a reduction in water pressure, which can lead to an expensive system repair, not to mention unsanitary water.
Depending on how often you clean the filters, whether or not you have hard water (which has more sediment build up that can damage your faucets), and the brand and quality of your faucet, the general rule of thumb is to replace your bathroom or kitchen faucet every 10-15 years. If your faucet is continually leaking, however, that’s a good indication that it’s time for a replacement, regardless of your faucet’s age.
If you’re doing a remodel and just want a design upgrade, there’s no minimum amount of time you need to wait to replace your faucet, so you can swap out your model as often as you’d like.
How to Install a New Faucet

Step One – Gather Your Supplies
- A new kitchen or bathroom faucet, which can be purchased at your local hardware store or online on sites like Amazon. Just be sure to do your research first to make sure the faucet will fit your sink or vanity!
- Wrench
- Silicone Caulk
- Rags
Step Two – Turn Off the Water Supply

The last thing you want when installing your faucet is a water leak (and mess to clean up after!).
Before getting started, be sure to turn off your water supply completely, which you can do by locating the valves underneath your sink. Then place your bucket and rags by the drain and turn on the faucet to drain any remaining water in the pipes.
Step 3 – Remove the Existing Faucet

Using your adjustable wrench, and basin to catch water, unscrew the mounting nuts under the sink that secure the faucet and disconnect it from the drain. Using both hands, pull up the old faucet from the top of your sink until you’ve pulled it out completely. Keep in mind the base of the faucet could be slightly adhered to the sink, so use a bit of force when pulling.
Step 4 – Assemble Your New Faucet

Begin putting your new faucet in place by setting down the rubber or plastic gaskets, which should fit snug between the faucet and the top of the sinkholes.
Place your new faucet in position, ensuring it matches up to the holes in your sink or vanity.
Step 5 – Seal Your Sink

Using your silicone sealant caulk, seal your faucet in place, then secure the washers over the under-sink mounting nuts and tighten them with your wrench.
Step 6 – Reconnect the Water Supply and Test it Out!

Finally, reconnect your water supply and turn on your new-and-improved faucet to test it out!
Should You Hire a Pro to Help?
Wondering if you should DIY this task or hire a pro? If your DIY-skills are a bit subpar, or you’re worried about messing with your plumbing, consider hiring a professional to do the job for you to avoid any costly repairs down the road.
