If you’re looking for a (relatively) easy way to give your bathroom a facelift, you may want to start with the flooring. New tile can transform the look and feel of your bathroom, and is a fairly simple project even a beginner DIY-er can complete.
With a bit of patience and precision, we’ll help you give your bathroom the makeover it deserves. Read on for the step-by-step instructions to retile your bathroom floor.
When to Retile Your Bathroom Floor

How often should you be retiling your bathroom floor? The answer depends both on your personal preference, as well as the age of your bathroom. If you’re someone who likes to keep up with trends, you can retile your bathroom for aesthetic reasons every two to three years.
If you’re going for longevity, you’ll want to retile about every 15 – 20 years to avoid mold buildup and keep your bathroom in tip top shape. However, if your shower, tub, sink, or toilet leak a lot of water, you may need to replace your tiles sooner to avoid water damage and to prevent the growth of mold.
How to Retile Your Bathroom Floor
Retiling your bathroom is a fairly easy task you can complete on your own in a weekend. Just keep in mind that you’ll need to have a few days to do the project since the grout will need time to dry and adhere before you can walk on the tile and use your bathroom again.
Step One – Determine How Many Tiles You’ll Need

Before you head to the hardware store, you’ll want to measure your bathroom to determine how many tiles you’ll need to purchase to complete your project.
Grab your measuring tape and determine your overall square footage by multiplying the length and width of your floor space. Once you have the square footage, the pros recommend ordering at least 10% more tiles than you’ll need, both to ensure you’ll have full coverage, and in case any break.
Step Two – Prep Your Floor

If possible, avoid tearing out vinyl flooring, not only to save time, but also because it can lead to asbestos hazard concerns. Instead, prep your floor by giving it a good scrub with tile stripper mixed with warm water.
Step Three: Attach a Backer Board

To provide a level surface for your new tiles to adhere to, attach a cement backer board to your floor, using a drill to screw it in.
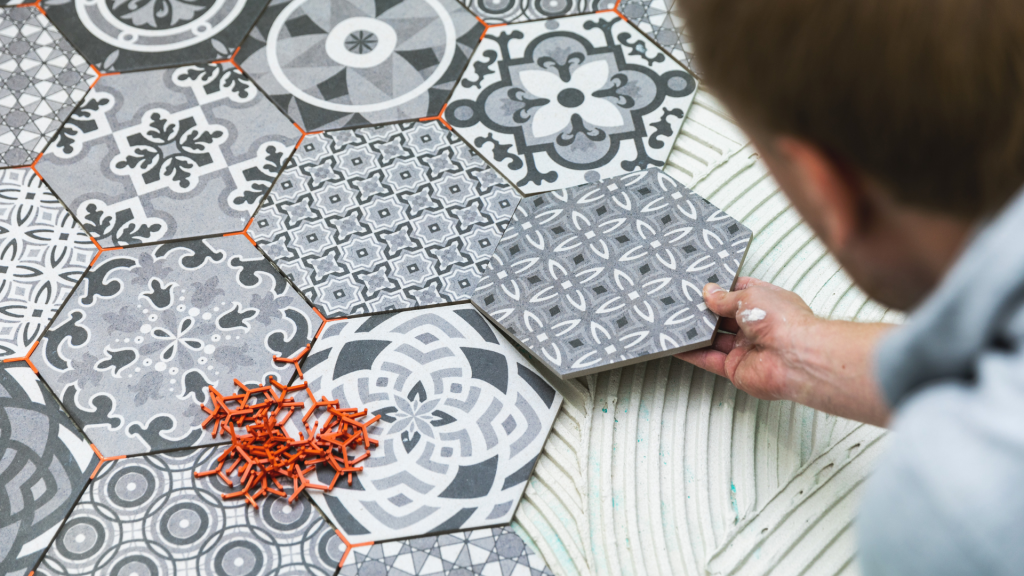
Step Four: Determine Your Tile Layout

Once your backer board is down, the pros recommend laying out your tiles (remember to keep a small space between each tile for grout!) to visualize how they’ll fit together before you apply any adhesive.
Step Five: Install and Adhere Your Tiles

Begin by combing out a layer of mortar mix to your backer board and begin laying down your tile. You may need to use a wet saw to cut some tiles to fit against your walls and vanity, shower, and so on. Keep in mind that the mortar adhesive needs to dry overnight before your final step.
Step Six: Apply Grout

After your tiles have dried in place overnight, it’s time to apply the grout. Evenly spread the grout over your tiles, using a sponge to remove any excess. Once the grout is in place, leave it to dry for at least 24 hours, and don’t run your shower since the humidity can interfere with the drying process.
And that’s it! In six (somewhat simple) steps, you’ll have a newly retiled bathroom floor – enjoy your updated aesthetic!
