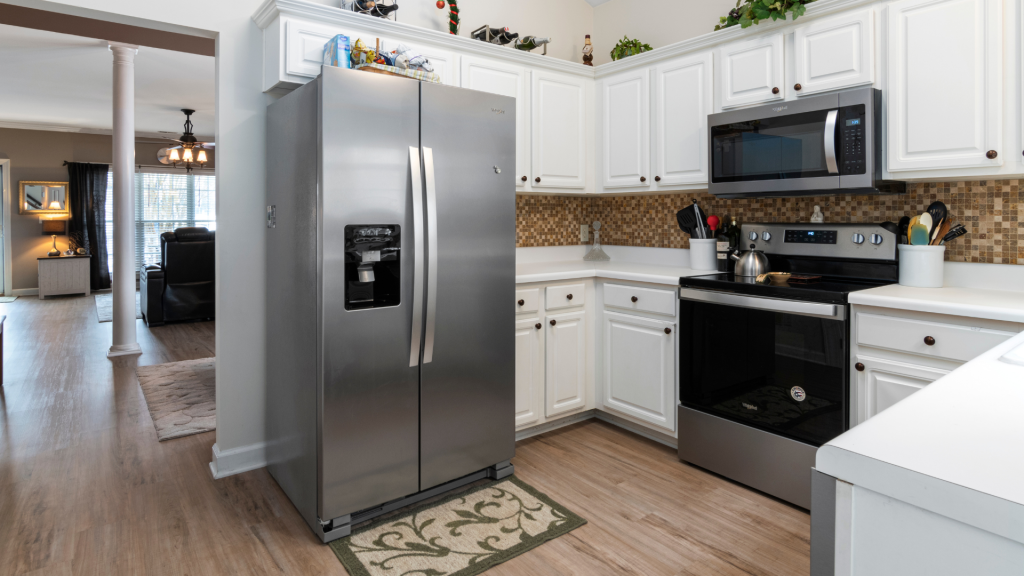
As a responsible homeowner, you likely already know the basic maintenance tasks to keep your home in tip-top shape; mow the lawn, clean out your gutters, drain your sump pump. But did you know that you should also be maintaining your home’s appliances?
Believe it or not, there could be dust lurking deep inside one of your home’s most used appliances – your refrigerator! Your refrigerator coils could be hosting unwelcome dust and debris, which is not only gross, but can also impact the appliance’s performance and longevity.
So, along with cleaning out the inside of your refrigerator at least monthly, you’ll also want to give the coils and back of your fridge a deep cleaning to keep it running smoothly (and save yourself thousands in maintenance and a potential replacement model down the road!).
What are refrigerator coils, and why do you need to clean them?
Depending on the model, refrigerator coils are found at the back, or base, of your fridge. Their critical role is to push heat out so the internal refrigerator remains cold. By removing the dust and dirt that builds up behind your fridge and gets trapped in the coils, you can help it run more efficiently, while also using less electricity.
The average refrigerator accounts for the most electricity use in your home of any kitchen appliance, and, according to the Consumer Energy Center, simply cleaning the coils can reduce the amount of energy that your fridge uses by up to 30 percent. Not to mention, refrigerators don’t come cheap. Dirty coils shorten the life of your fridge, and can lead to costly maintenance repairs or an entirely new refrigerator, which can cost you upwards of $2,000. Opt for cleaning your coils every six months at minimum to keep that chunk of change in your pocket, and get the maximum lifespan out of your refrigerator (which can be up to 12 – 14 years!).
How to Clean Your Refrigerator Coils
Step One: Gather Your Supplies
For this project you’ll need:
- A Vacuum
- A Duster
- Cleaning Rags
- Your Preferred Cleaning Solution
- Optional: A refrigerator coil cleaning brush
Step Two: Unplug Your Refrigerator and Locate the Coils
Safety comes first, so be sure to unplug your refrigerator before you begin cleaning. Don’t worry about your food spoiling – this is a quick project, so you’ll have it plugged back in within 15 minutes!
To locate the coils, check at the bottom or in back of your fridge. Older models have exposed coils mounted on the back of the refrigerator, while newer models coils are either at the base of the fridge behind a toe space panel, or at the back behind a rear access panel. You can snap this panel off without any tools to expose the coils on newer models.
Step Three: Vacuum the Coils
Using your crevice vacuum attachment, suck up any dust and debris you can see around the coils.
Step Four: Brush Away Dust
Using a refrigerator coil cleaning brush, paint brush, or rag, dust the spaces between the coils using a back and forth motion to remove dust. You can also try gently twisting your brush or rag to get into tight corners and easy-to-miss areas.
Step Five: Clean the Area Around the Fridge
After dusting, there’s likely a lot of debris left on the floor surrounding your fridge. Vacuum this up, then give it a final wipe down with a rag and your preferred cleaning solution, to leave it sparkling clean.
Now, plug your fridge back into its power supply, open it up, and reward yourself with a cold beverage – you earned it!

