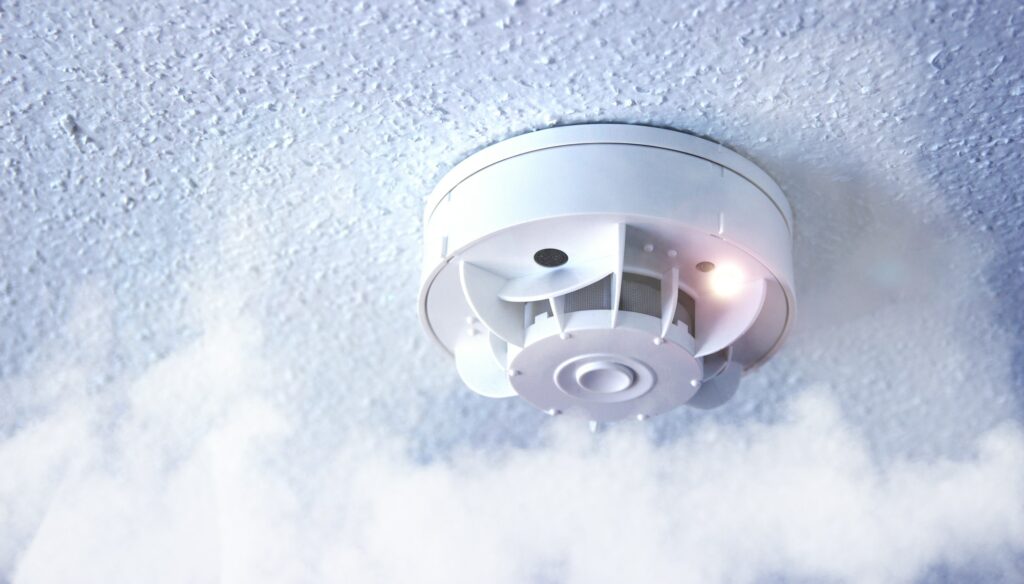
As a responsible homeowner, home safety is likely a top priority. And, when it comes to keeping your home, and the loved ones who live in it, safe, there are a lot of maintenance tasks to keep up with throughout the year.
Clearing out your dryer vents to prevent fires; cleaning your gutters to ward off mold; flushing your hot water heater to prevent sediment build up and unhealthy water – a couple of tasks completed throughout the year can keep you on the right track to home safety. And, as part of those tasks, don’t forget to add “checking your smoke detectors” to your bi-annual homeowner’s to-do list.
To learn why, and just how often, you’ll want to check your smoke detectors to keep your home safe and protected, we’ve compiled a quick background guide and step-by-step tutorial to help.
Why to Check Your Smoke Detectors
Smoke detectors are a great way to alert us if there is a fire, however, they can’t do so if their batteries have run out. Unfortunately, over ten people die per day due to house fires, which could be avoided if they were alerted in time. As such, it’s recommended to check the batteries often, and replace them at least every six months.
Along with the possibility of having your smoke detector’s batteries die, the device in general can wear out over time. In fact, experts recommend replacing your entire smoke detector units every 8 – 10 years to ensure your models are the most up-to-date and ready to detect smoke. If it’s been 8 – 10 years since you replaced your smoke detector entirely, you can find replacement models at your local hardware store which can easily be swapped out.
How (and how often) to Check Your Smoke Detectors
Step One – Set a Calendar Reminder
Unfortunately, batteries don’t last forever, so the first step to making sure your smoke detectors are running smoothly is to set a calendar reminder (either on an actual calendar or your phone) to check their batteries every six months.
Alternatively, you can also add this task to your to-do list during daylight savings time in the spring and fall as an easy built-in, bi-annual reminder.
Step Two – Gather Your Supplies
- A step stool or ladder
- Replacement batteries
- A housemate (to help listen!)
Step Three – Warn Family and Household Members
Before you begin, let your housemates know you’ll be running a test so they’re aware of the drill and aren’t alarmed by the possibility of an actual fire.
Step Four – Station a Housemate Away from the Alarm
Your smoke detector is only purposeful if everyone in the home can hear it. Station a housemate at the furthest point in your home from the alarm and have them listen as you’re testing to be sure the alarm can be heard throughout the entire home.
Step Five – Test Your Smoke Detector
Using your stepladder to reach the alarm, find the “test” button and press and hold it for a few seconds. Within five seconds, you should trigger the alarm and hear a loud siren. This is also when you’ll want to call out to your housemate to ensure they can hear the alarm, too.
You can also check your smoke alarm’s sensors using an aerosol spray designed specifically for testing smoke detectors, which you can purchase at your local hardware store. If your alarm doesn’t sound after using the spray, your sensor could be worn out, indicating that it’s time for an entire smoke detector replacement.
Step Six – Replace the Batteries
If it’s been six months since you last replaced the batteries, or if the alarm didn’t trigger when you tested it or the sound was weak, it’s time to replace the batteries. Once you do so, test the smoke detector again to be sure it’s working properly.
By checking your smoke detectors every few months, you’re helping to ensure they’re functioning properly, which doubles your chance of surviving a fire by warning you and your family of a dangerous situation before it’s too late.


