It’s where some of your fondest childhood memories with loved ones were made; the spot where your family gathers in the evenings to wind down and enjoy a home-cooked meal; the central location where company congregates during get-togethers – if you haven’t already guessed, we’re talking about your home’s kitchen.
The idea of the kitchen as a central part of the home has expanded from a spot to simply prepare meals over the years. In fact, modern day homes have evolved to feature the kitchen as a central spot to enhance your lifestyle, rather than become an obstacle for it. It’s no wonder that the kitchen is one of the most sought after rooms, and top deciding factor, for new homebuyers. That being said, poorly designed kitchens can be the first turn-off for potential buyers, and can end up costing you a significant chunk of change in resale value.
Thankfully, you don’t need to undergo a major kitchen renovation to increase your home’s design aesthetic. Read on as the House Hacks Tips team walks you through a simple DIY project to boost up the value of your home’s biggest asset—the kitchen!
The Benefits of a Beautiful Backsplash

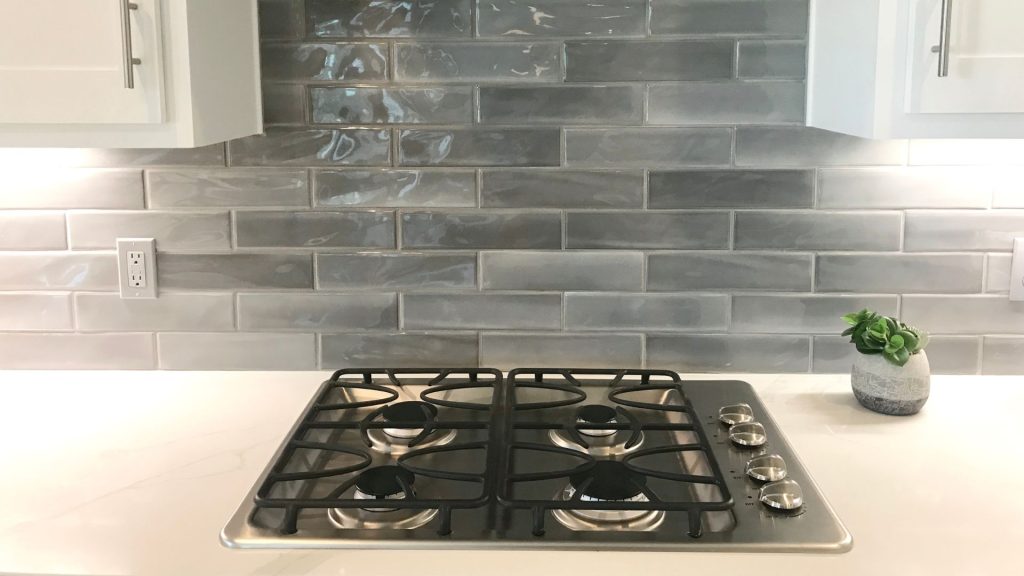
With so many mosaics and different color choices, a backsplash can instantly level up your kitchen – and home’s – overall design. But a beautifully installed backsplash isn’t just nice to look at.
Tactically speaking, tiled backsplashes protect your walls and paint from food splatter and ingredients that fly around the kitchen when cooking, making cleanup easier and more manageable. Whatsmore, this added layer of protection keeps your kitchen safe from water damage, and can even block pests (like bugs or smaller critters) from entering your home through cracks in cabinets and walls.
Along with effortless maintenance and added durability, a well-kept backsplash is an easy way to modernize your kitchen, both increasing its financial value while making it more visually appealing to potential buyers.
How to Install a Tiled Backsplash
The good news is that installing a tiled backsplash is relatively easy, and the tile doesn’t have to be expensive to achieve the desired aesthetic you’re going for. Start by gathering your supplies and set aside a weekend for this DIY project that will transform the look and feel of your kitchen.
Step One – Gather Your Materials

- Tiled backsplash (available at your local hardware store)
- Measuring tape
- Tile cutter
- Sandpaper
- Tile adhesive
- Grout
- Sponge or squeegee
Step Two – Measure
Grab your measuring tape and measure the distance between where your countertop and cabinets meet, subtracting a ¼ inch to account for grout. Using a pencil, mark the center of the wall, and then mark the distance on your tiles (this is where you’ll be cutting them).
Step Three – Cut and Sand

Using a tile cutter, cut your backsplash to match the distance you measured in step one, and sand them with sandpaper to remove rough edges.
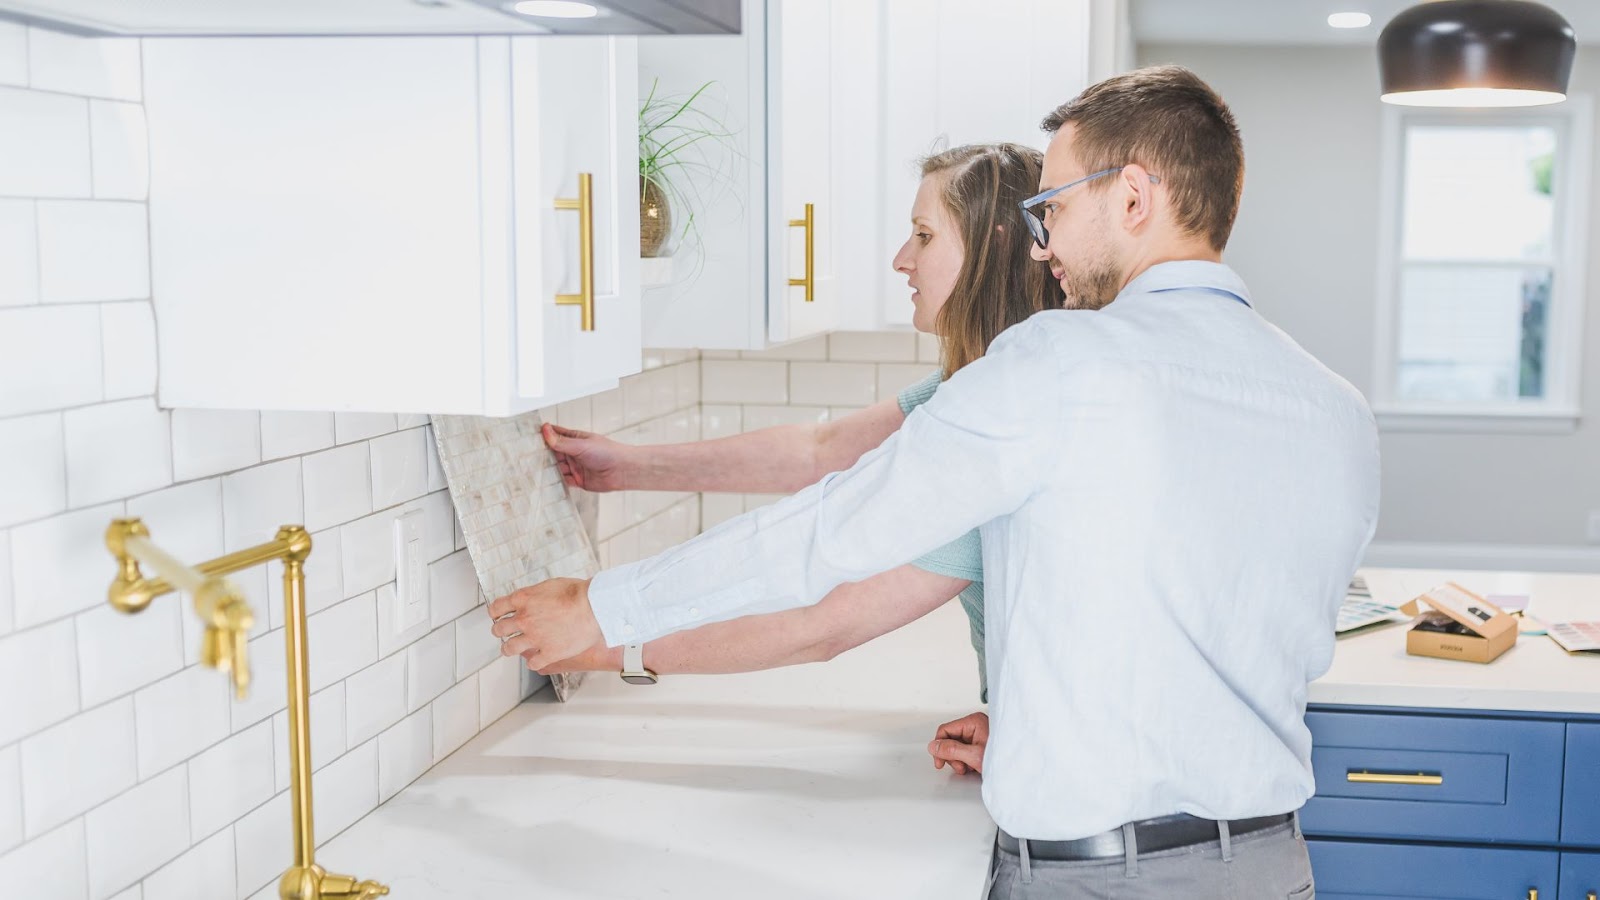
Step Four – Apply Adhesive

Beginning in the center of the wall and working your way out, apply tile adhesive to the wall and set your first tile in place. Use tile spacers between each piece and the bottom (where the wall meets your countertop) to leave room for grout.
Step Five – Let it Dry

Leave your tiles and tile spacers in place to dry – about 12 hours or overnight.
Step Six – Grout

Remove your tile spacers and begin filling in your grout, using a squeegee or sponge and water to wipe off any excess from the tiles.
Let this dry in place overnight, and enjoy your new and beautiful backsplash!
