
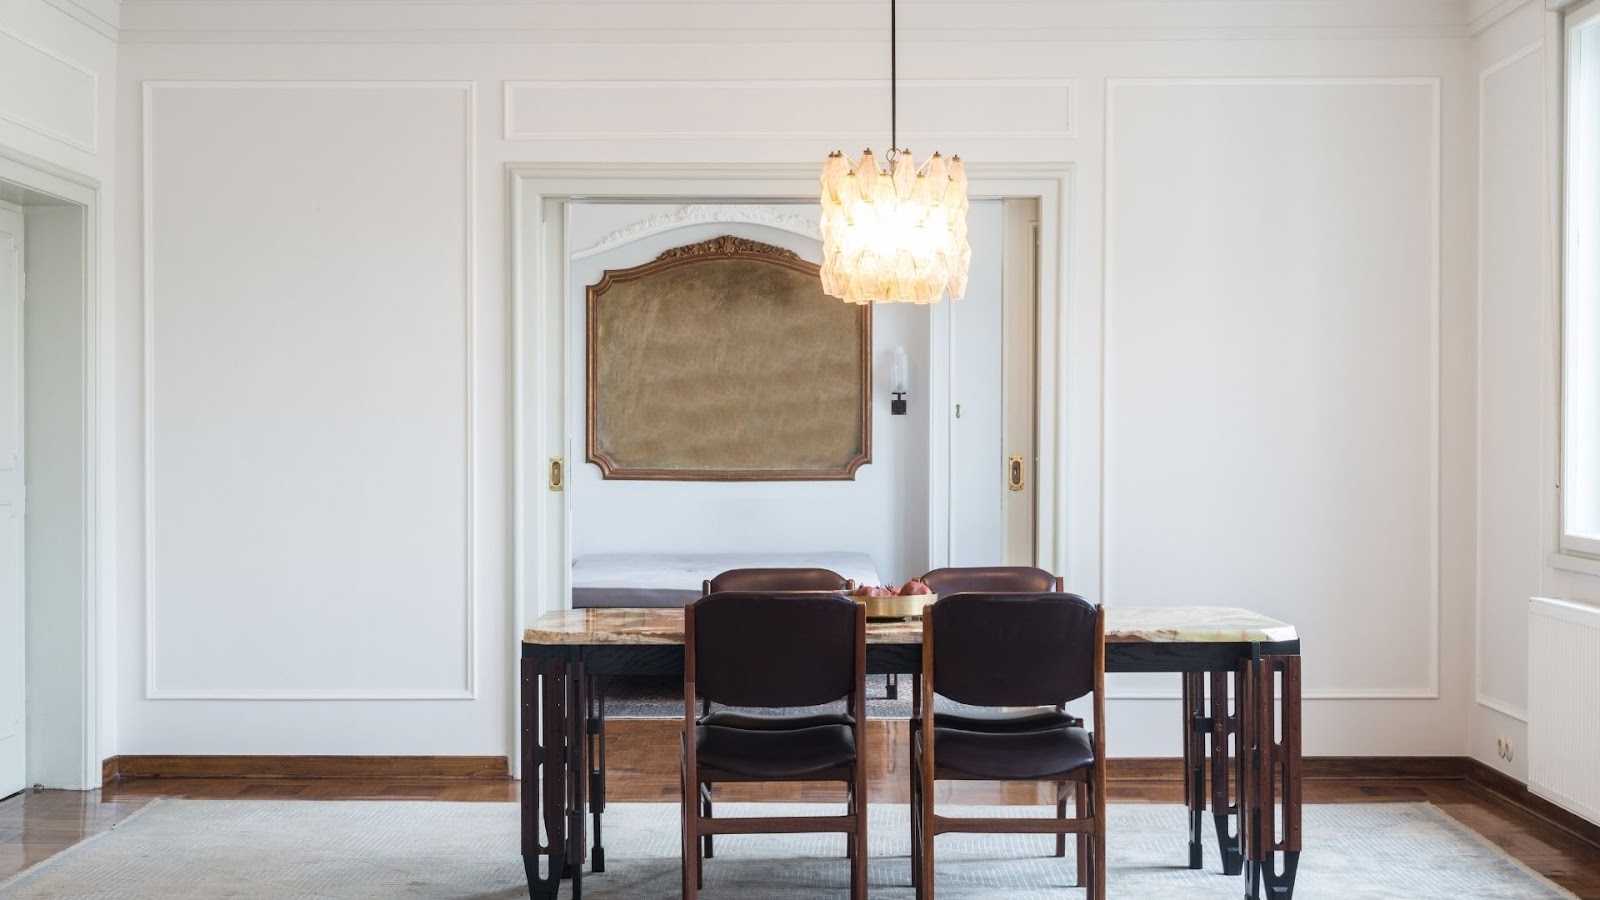
Hanging a chandelier not only lights up a room, but it also adds instant style and a decorative element to any space. While most common in dining rooms, a chandelier can serve as a primary design feature and focal point of any room, and make a great statement or conversation piece for your next dinner party.
But, chandeliers aren’t only nice to look at – they also drive up equity for homeowners. Because they’re hard-wired and a more permanent fixture, chandeliers are usually included in property sales and will, therefore, be included in your home’s valuation. So, by installing a chandelier, you can increase your home’s value, especially if you opt for a pricier and more modern model.
How to Hang a Chandelier
Step One – Switch the Power Off

When working with any electrical wiring, it’s crucial to take extra precautions and always ensure the power is switched off from your main circuit breaker. Be sure to also flip the switch connected to your current light fixture to test that the power is in fact turned off before getting to work.
Step Two – Remove the Old Fixture and Tighten the Ceiling Box
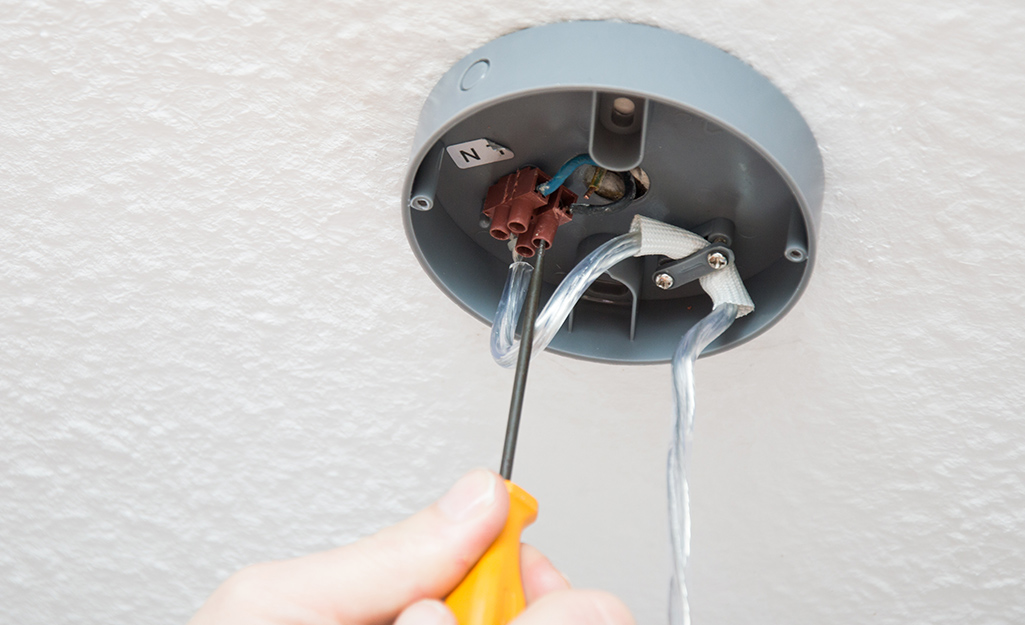
Before hanging your new chandelier, you’ll need to disconnect your current light fixture from the ceiling box, (aka the electrical box), which is what securely connects your ceiling fan or light fixture to any wiring. They can hold up to 75 pounds, but it’s worth double checking your ceiling box’s capacity to ensure it can handle the new chandelier’s weight.
Using a screwdriver, carefully disconnect the wiring from your old light fixture and the ceiling box, and set it aside. Tighten any screws in the ceiling box to ensure it’s securely connected.
Step Three – Put Together Your New Chandelier
Follow the instructions provided by your chandelier’s manufacturer, and give it a good wipe down to make it sparkle.
Step Four – Measure the Length of the Chain
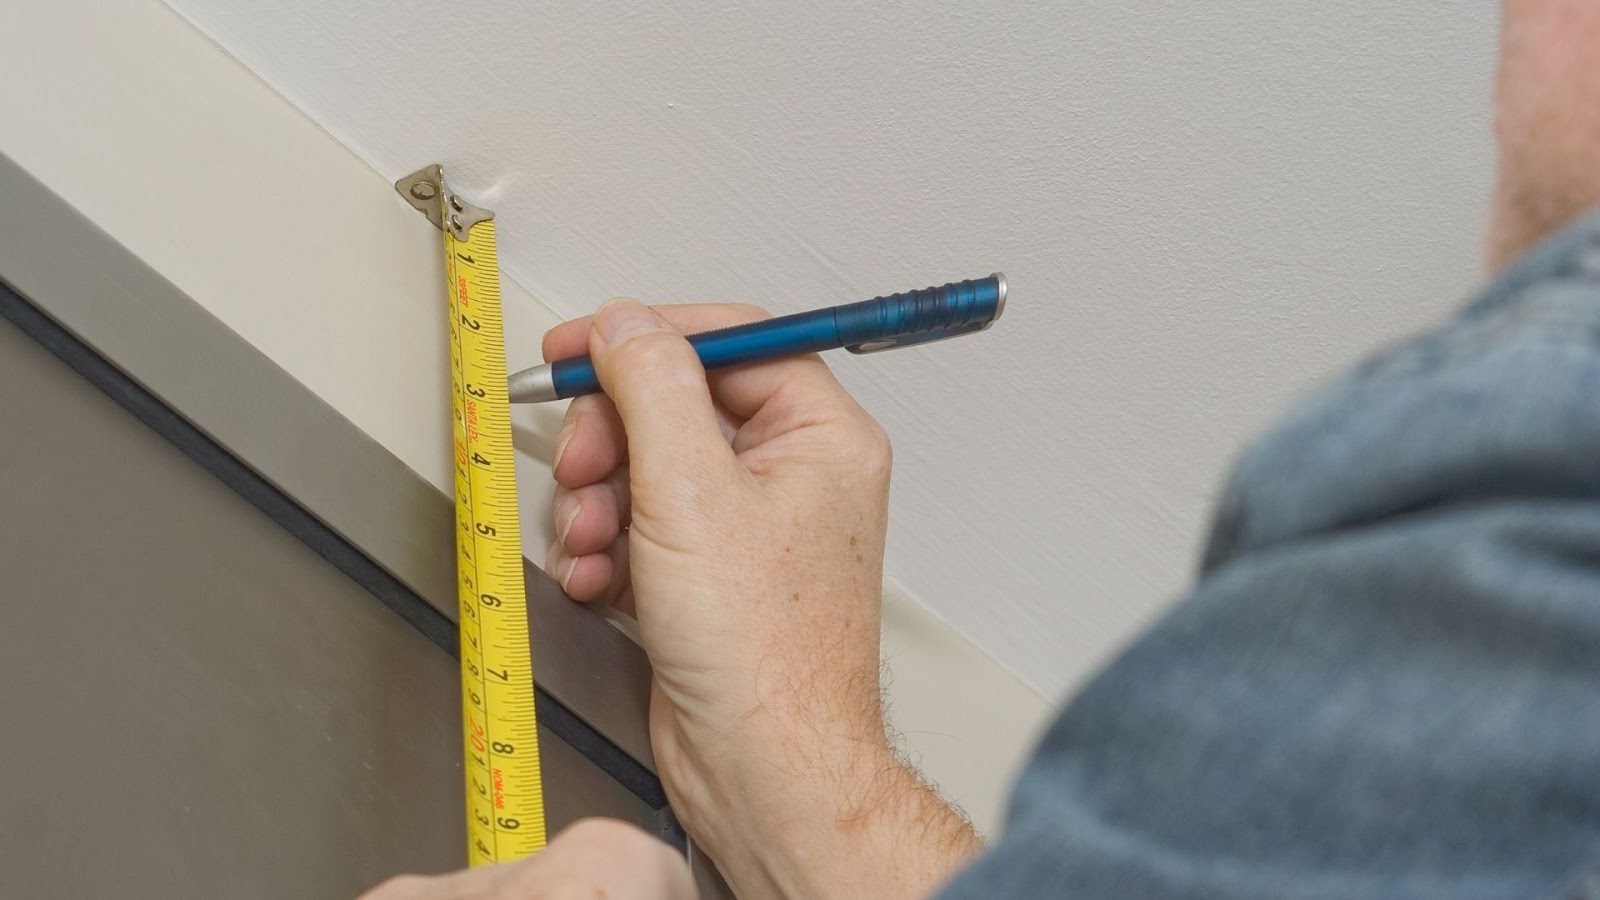
To determine the height to hang your chandelier, the pros at Home Depot suggest using a tape measure to measure the height from ceiling to floor, and from the ceiling to your dining room table. The length of your new chandelier’s chain should be three inches long for every foot of ceiling height, and don’t forget to add four inches for the chandelier’s hanging loop.
Step Five – Connect Your New Chandelier
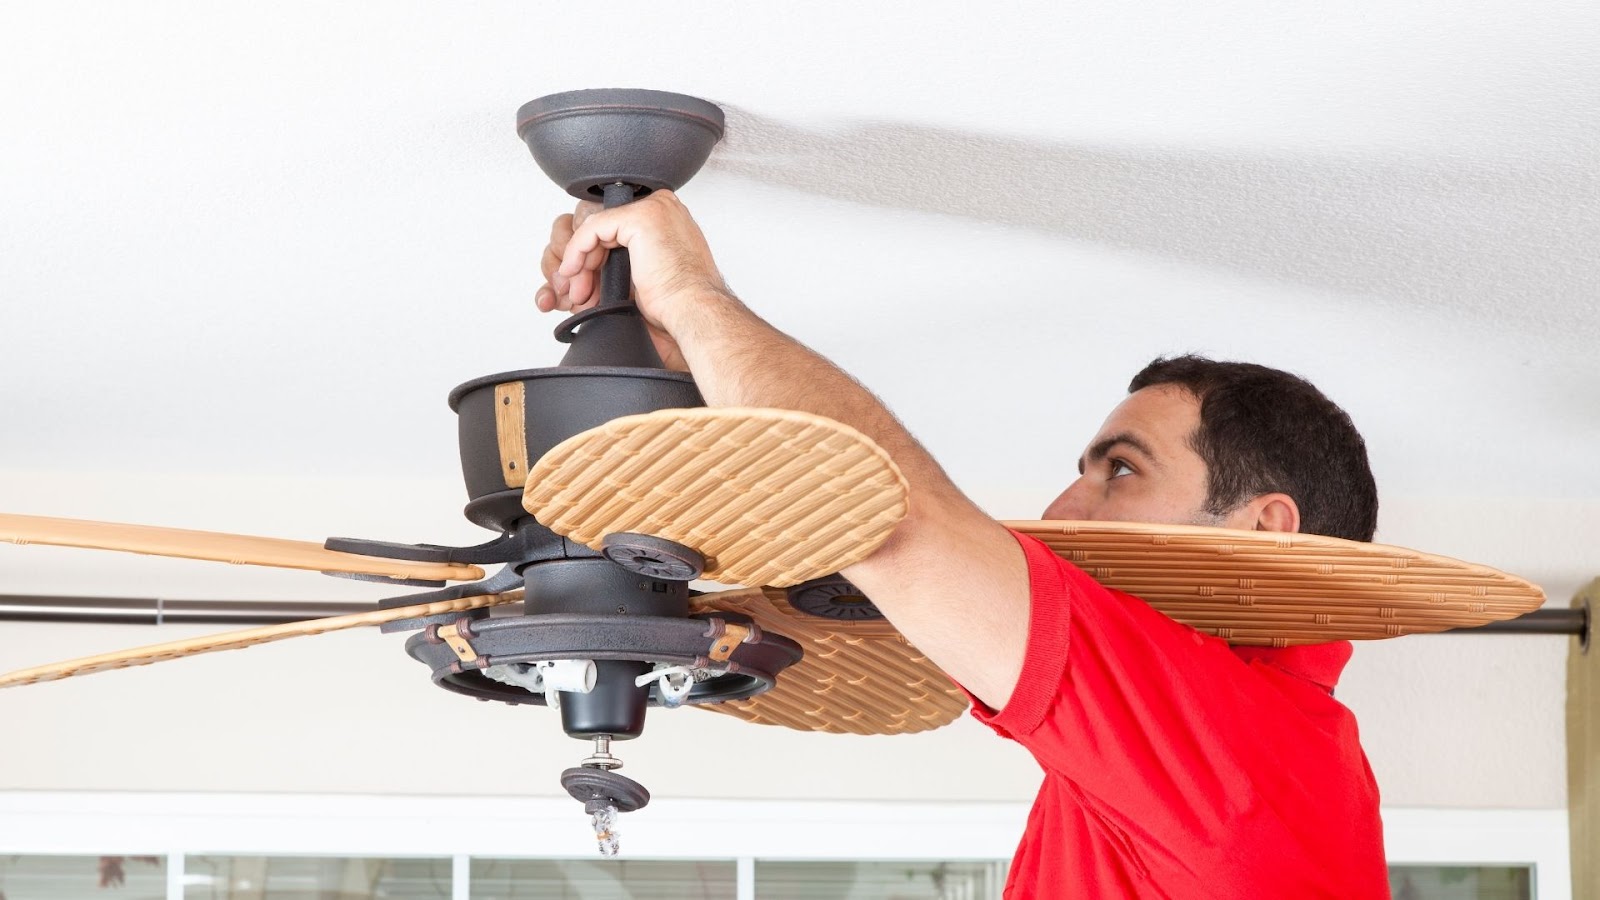
Connect the mount of your chandelier to the ceiling box and wires. Most fixtures have a black wire that carries the current, and a white wire that is neutral so you know where to connect them.
Screw in the lightbulbs, turn the power back on, and give your light switch a flick to admire your newly hung chandelier!
And, as a final note, keep in mind that if you aren’t comfortable with any type of electrical work, it may be best to leave this project to your local electrician or handyman.